Friday, March 28, 2014

DIY Model Dough

Today - It is all about dough, yet again :)
I really have had a ton of fun this week playing with dough and with the different kinds was even more fun :)

The cloud dough, I did not know how it was going to turn out or what I was really going to think about it, turns out, so very relaxing, love the texture and adding the lavender so much more relaxing to play with!!

The Play Dough, LOVE it!!! I loved playing with my kids, but hate how much it was, and did not like the salt dough recipes that I tried before. This stuff rocks!  Love the feel and smell :)

Today Model Dough :)

Again this stuff is fantastic and so easy to make!!!
I was looking for a more "adult" dough, something that I could make into things, like diffusers
And something that would dry "pretty"

I found this recipe on line - it fit my criteria
Used things around the house, was easy and inexpensive
Though it does take longer to "cook" then the Play Dough did ;)

Here is the link to the original post  Model Clay

Recipe
2 Cups Baking Soda
1 Cup Corn Starch
1 1/2 Cups Water

Mix together in a pot, once mixed turn on the heat to Medium High
Continue to Stir - Mixture will start to get bubbly - Then start to Clump together
(Keep stirring the entire time)
Once it starts to clump watch it closely - Once it is mash potato consistency
Remove from heat and transfer to a large plastic bowl - cover with a wet rag
Once cooled it is ready to be played with :)

Store in an air tight container :)

Once you have it shaped as you want - you can leave it out to dry - it will dry a porcelain color and can be painted

I wanted a small stand up diffuser for my side table so I found this small frame at my local ceramic's store and then I filled it with the model clay and stamped it :)

Once dried I added a few drops of Valor (thus the blueish tint)
I am thrilled with the results!!!!!!!!


Wednesday, March 26, 2014

DIY Play Dough

I thinking about dedicating this weeks posts to "Play Dough"

I loved the cloud dough and how truly relaxing it is to play with, then that made me think of playing with play dough with my sons, and how much I loved doing that, but HATED the smell.

Again, I Love Pinterest :) I found a great pin and made some
Here is a link to the Post I Found Play Dough

Here is what you need
1 Cup Water
1 Cup Four
1/4 Cup Salt
2 Tablespoons Cream of Tartar
1 Tablespoon Vegetable Oil

Mix all the ingredients together in a pot, once mixed Keep stirring and turn on heat to Medium
Keep Stirring - It will start to thicken and clump up once it is no longer sticky remove from heat :)
Place on Waxed paper and let cool
Once cooled make a well in the center
 Add color - It is Play Dough it has to have color :) -I used Leaf Green - Gel Food Coloring
AND drop about 6 drops of essential oil
(you might want to add a few drops more once you have it mixed if you need/want to)

Store in an Air Tight Container

Bonus This stuff smells so much better, even without the oils !!!

I like using the calming smells, to be able to calm down while playing with something, but it is play dough and is meant to have a happy exciting feeling when playing with it so I went with spearmint - I really love Minty Smells :)

I have to say this week has been so much fun, so relaxing while still having fun and reliving happy moments from my and my children's childhood -- My husband has been laughing at me all the while having fun playing with it all as well :)

Friday's post will be on Model Clay - this really has been a fun week!!
I really hope you have been having fun as well!!  If not now, come back and look again later :)

I did not know which picture I liked more, so you get both :) So much fun to play with!!! Enjoy!!!!!


Monday, March 24, 2014

DIY Cloud Dough

I love to find ways to relax, one of my favorites, On a Beach :)
Well I live nowhere near a beach!!
One of the things I love the most about a beach, running my finders through the sand, and how calming that was :)  Sadly I do not have little kids to buy a sand box for and it would be kind of odd to just sit out there by myself, although I would :)

So..... While on Pinterest a few months ago, I found a pin for Calming Lavender Cloud Dough
Loved the idea - Cloud Dough, it just sounds relaxing, add Lavender oh heck yeah!!!!!!!!

BONUS WAY EASY

Here is the link to the original Blog Post Calming Lavender Cloud Dough

I of course made a smaller batch

2 Cups of Four
1/4 Cup Oil 
3 drops Lavender Essential Oil

Okay this stuff rocks!!!!
Extremely Relaxing, to me it is like a Zen Garden, instead of rakes I use my hands to play with the "sand"
You can form it into anything and then reform it or just crumble it down back in to the "sand"
It feels so good, like out on the beach as it goes between my finders :)
It reminds me of beach sand without the abrasiveness, and not to wet not to dry, just perfect for playing with!!!

Love this!!!!  I no longer need a huge sand box, this little bit of Cloud Dough gives me hours of happiness in a little container :) 


Saturday, March 22, 2014

Easiest DIY Car Air Freshener

I found the cutest tiara at a local craft store

It has a felt front and a painted wood back
It was only 99 Cents  :)

So I picked it up and started thinking, what can I do with this??

The first thing I thought of - A Perfect Air Freshener for my car :)

I put a drop of Citrus Fresh on each one of the "stones"

This will last about 2 weeks before it needs to be refreshed :)

You can add a clip to the back, but I have it sitting in the cell phone holder in my car


Thursday, March 20, 2014

DIY Hand Sanitizing Spray

The last post tells you how to make AMAZING Hand Sanitizing Gell and as I said in that post I made 2 different kinds the Gell and a Spray Hand Sanatizer, I was curious to see which one I liked better, and as I said then and I will say again I LOVED THEM BOTH so much!!!!

So today - How to make the most wonderful, fantastic, easy, great feeling Spray Hand Sanitizer :)

Ingredients:
1 Tablespoon Aloe Vera Gel
3 Tablespoons Which Hazel 
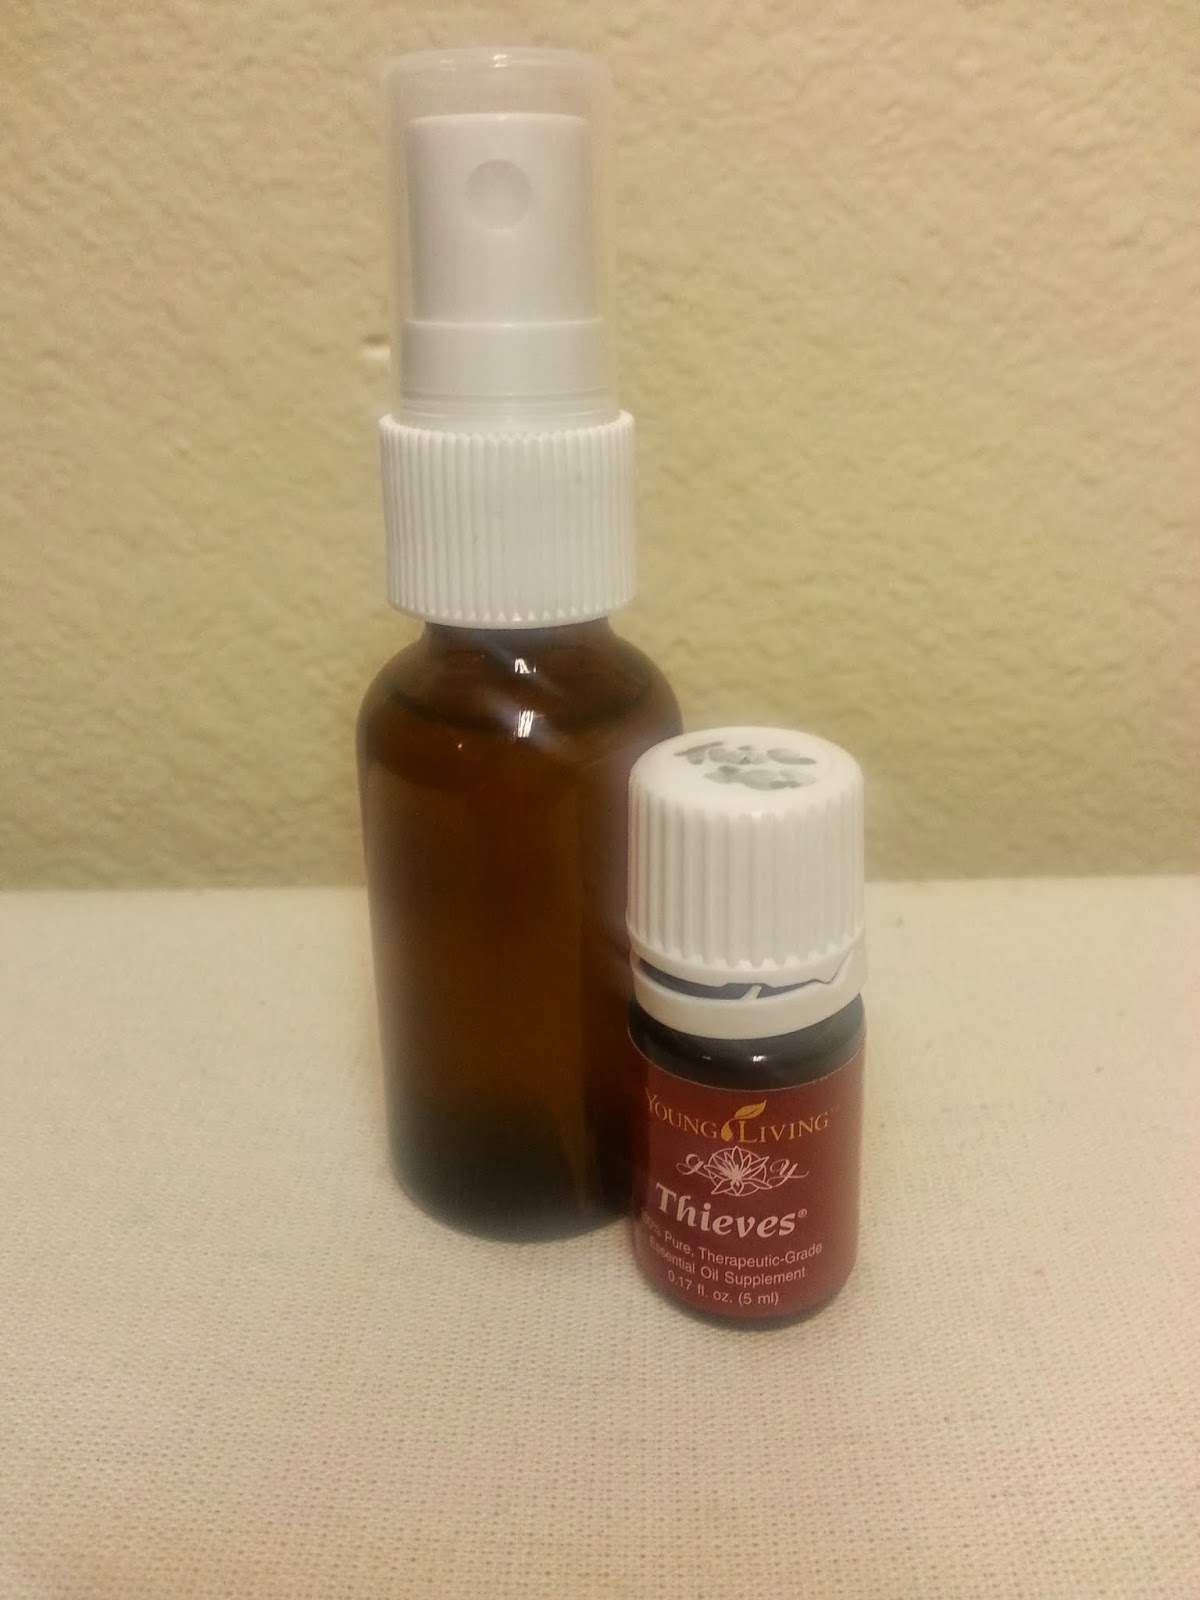
6 Drops Thieves Essential Oil

Pour all the ingredients into your small spray bottle - Again I used a glass bottle :)
Shake, Shake, Shake - Shake, Shake, Shake, Shake your bottle :)

Spray as desired

When my husband tried it, his first comment - This one smells like Christmas too, I like it, it feels good.


I love Thieves, and think the story behind it pretty interesting - This is from the Young Living Page
 Thieves® was created based on research about four thieves in France who covered themselves with cloves, rosemary, and other aromatics while robbing plague victims. This proprietary essential oil blend was university tested for its cleansing abilities. It is highly effective in supporting the immune system and good health.* Young Living Thieves Information Page

Tuesday, March 18, 2014

DIY Hand Sanitizer Gel

I made 2 different kinds of hand sanitizers, one was a gel and the other a spray
I wanted to see which one I liked more
Turns out I LOVE THEM BOTH!!!

Today - How to make the fantastically wonderful Gel Hand Sanitizer :)

You will need
3 Tablespoons of Aloe Vera Gel
2 Tablespoons of Distilled water
6 drops of Thieves Essential oil

So simple pour all of the above into a glass jar
Shake well - Shake some more, and shake some more :)

Use as needed :)

My husband says it smells like Christmas - I love Christmas time -- Works for me :)

I used a glass jar that had a dropper.
You can use a plastic bottle but make sure it is a high quality plastic.


Sunday, March 16, 2014

I used lavender yo help my bruise :)

I really want this blog to be fun and informative, and I was thinking that each post would be something to make to pamper yourself or your home, but after what just happened, I decided that using Essential Oils Neat (straight, no dilution) can do so many amazing things, and need to be shared as well :)

Saturday night, my migraine was out of control, and no matter what we tried it just kept getting worse.
I am all for alternative medicine, but their comes a time when going to the hospital is my only option. Saturday night was one of those times, and it became so bad so fast that an ambulance had to be called.

When I am in this much pain, my entire body reacts, including my veins.

I really hate going to the hospital - for so many reasons, and one of them is because they always seem to need to stick my so many times by the next morning I look like I am a victim of some sort of  attack and always worry about going out, and what people think about all my bruises.

Saturday night was no different, between the guys in the ambulance sticking me 3 times, and the hospital another 4, I had no doubt that my hands and arms were going to be covered.

When I got home a few hours later, my first thought was honestly, I need to do try something, this was going to be so bad in the morning.

I had read a few times that lavender was great for bruises, but would it really work was all I could think. I could feel the bumps forming and see some purple already. Well what would it hurt, bonus the smell is very relaxing, and right at that moment I could use a relaxing moment :)

I put my finger over the hole and tipped the bottle over, then applied the oil to the bruised area, and repeated that step for each area. Rubbing it in each time.

I really should stop being so shocked when my oils do exactly what everyone says they will do.
I woke up Sunday morning and the only purple I saw was extremely light in one location, the one that I am sure would have turned into a hematoma, the other 6 are purple free :)
There are 2 bumps (one the light purple) the other on my hand - the bump is there but it is bruise free :)

The only word is Elation :)

Different brands of work differently and I only use Young Living, I have not experimented using other brands on my bruises, to be honest I really never thought it would work, I am so grateful I was proved wrong yet again.


Thursday, March 13, 2014

DIY Solid Perfume

As I am sure you have noticed, I prefer to make small batches of the different things I make.

It is just my husband and I an although it is easy to store everything, I prefer to keep things fresh
(6 months or less from the date I made it) Trust me I go though it all a lot faster than that.

So when I was thinking about this post I thought of doing it a few different ways, in the end I decided to stay with my small batch theme :)

Again so simple, so easy, so fun and inexpensive :)

You will need
Beeswax
Carrier Oil (I used Sweet Almond, it is great for skin, and the scent is great with the oil I used)
Essential Oil


You will need 1 teaspoons of Beeswax
Melt it (I used a small container and did it in the microwave)
add 1 teaspoon of your Carrier Oil
Mix well
Add your Essential Oil - I used 4 drops of Peace and Calming

Pour into your locket (I bought this one at Michaels - Love their coupons)
Let cool (takes about 10 minutes)

Love this stuff!!!!!!!!
The smell is fantastic and when I want a bit more of a boost from it, I just rub a bit on my finger and then rub it on to my wrists, behind my ear, and neck :)

I like making a small batch for personal use, this would make great gifts, and be fun to have a few different to pull out and use as want to easily while looking fantastic - If you do make more than one scent, store them in different zip lock bags.

You could also skip the locket and just make a small container of it.
Either way, Enjoy! :)


Tuesday, March 11, 2014

DIY Toothpaste

Thieves is an amazing oil!

I wanted  to make a toothpaste, one that did not include odd ingredients

After doing research I found a way to make some great Toothpaste
Bonus easy and inexpensive while still being awesome!!

You will need a small container
1 Tablespoon of coconut oil
1 Tablespoon of baking soda
1 packet stevia
5 drops Thieves Essential Oil
4 drops Spearmint Essential oil - Added for taste, it does not need to be or you could use a different flavor

I just added it all to my container and used a chopstick to mix it all together :)

My teeth feel so great after each brushing!!!

AGAIN I STRESS ONLY USE THERAPEUTIC GRADE ESSENTIAL OIL :)


Monday, March 10, 2014

Sticky Residue - GONE!!!

This is way easy!!

A few drops of Lemon Essential Oil :)

Just drop a few drops of Lemon Essential oil on the Sticky Area spread it around with your fingers - let sit for a bit use a cloth rag and - Ta Da :)

I have done this a few times on Picture Frames I have bought

So simple so easy and smells good :)

Friday, March 7, 2014

DIY Mints :)

Every other week I open up my house for a few hours and invite my friends over to try out some of the things I post on here, to make sure the instructions make sense and  to see if they even like what they make.

Yesterday I did just that :)

I had a few friends come over and try out a few things - By far everyone's favorite were the Mints :)

So easy so Yummy

Again something I saw on Pinterest, though I did make a change ;) or an addition :)
Here is the link to the original post - Mints

All you need is
Either
Gum Paste (as it states in the original post)
OR
Fondant (these mints will not get as hard but are just as Yummy)

I cut off as much as I wanted to use - and stored the rest in an air tight container  
       (You can make a TON of mints from one box/container)

Kneed the "dough" till soft
Add your Essential Oil (Again so VERY important you use only Therapeutic Grade)
Kneed your oil in

Roll out - to the Purple ring (1/8th inch)
Cut out your mints
Let dry (takes 24 to 48 hours)

Enjoy


Thursday, March 6, 2014

Body Scrub / A Scrub for before you shave :)

Yesterday a friend of mine shared with me her Perfect Scrub Recipe
A Huge Thank You to +Erica Sansosti

So Simple so Amazing!!

1 Cup Sugar
        I used Raw Sugar (Left over from making Sleep Dust)
        You can also use White or Brown Sugar
1/4 Cup Grapeseed Oil
10 Drops Essential Oil

Mix it all together :)

A little of this goes a long way

Your Skin will love you for this - Bonus, when I used it (using the Raw Sugar) NO Razor Burn


Wednesday, March 5, 2014

DIY Sore Throat Spray

It does not matter what kind of weather is going on around me, for some reason through out the year I get a sore throat.  It drives me nuts, I could be doing great and the weather is fantastic, the next thing I know, my throat feels like a cats claw is stuck in there.

I was reading a book I bought to learn more about Essential Oils.
Here is a link to the book - The Oilers Handbook
+Jennifer Lambert  and +Aaron Lambert are 2 of the most amazing people that told me about this book! They are such wonderful people and so Knowledgeable about Essential Oils, they are my go to people :)

 In the book I found a recipe for Soothing Throat Spray. It is easy to make and what could it hurt to try
(the Recipe is on Page 86)

Well I tried it and I love it!!!!!! - Bonus - So Easy :)

Glass Spray Bottle
Distilled Water
Thieves Essential Oil
(it is Extremely Important that you ONLY Use Therapeutic Grade Oil)

Fill Bottle to Neck with Distilled water
add 6-10 Drops of Thieves (I added 10 to mine)
Put Spray top on
Shake

Shake and then Spray 1 - 2 towards the back of your mouth/throat
Repeat as needed

Have I said how much I Love Love Love this stuff!!!
Don't get me wrong with 10 drops the taste is Strong, kinda reminds me of Chloraseptic but with out that annoying Numbing, plus it worked so much better for me and the relief lasted a lot longer :)
***As a side note if you do use a different brand I am not sure how well it will work


Disclaimer: Statements on this website have not been evaluated by the Food and Drug Administration. Products on this site are not intended to diagnose, treat, cure or prevent any disease. If you are pregnant, nursing, taking medication, or have a medical condition, consult your physician before using these products.

Tuesday, March 4, 2014

Cleans and Sanitizes

So easy and works so well :)


In a 4oz Spray Bottle
Fill to Lip with Distilled Water
Add 6 drops Lemon Oil

Shake and Use :)

Bonus - Leaves the Room Smelling Amazing :)

Monday, March 3, 2014

Essential Oil Necklace Diffuser


As I have said a few times before - I love Pinterest!

I have seen these Diffusers pined a few times and I have seen them for sale at a few Craft Shows.
Every time I have seen them the only thing I think is - I could make those :)

So I did :)

You will need Natural Clay
       (I used an Air Dry Clay, but next time will use an Oven Bake)
And An Essential Oil
A stamp
(I also found these awesome Metal Circles)

Mold the clay into the Size and Shape You would like for your Pendant
Stamp your Clay
Put a hole on the top in order to string on to your necklace

Let dry / Bake per package Instruction

Once Dried / Cooled from Baking
Start rubbing your Essential Oil on
The first time you put the oil on you will need to put it on a few times (Layering the Scent)
My suggestion is that you only use one Scent per Pendant

The Scent lasts from a week to a month